Traveling Artist
The vast majority of my income as an artist comes from selling directly to my customers at juried Art Shows. If I didn't travel, I wouldn't be able to make a living. This is my career, not my hobby, and I have financial responsibilities like any other career person out there; health insurance, a mortgage payment, utilities, operating costs etc.
The first year I was in business I applied to Art Shows only in towns that I had friends or family to stay with. The overhead cost of doing an art show can be quite expensive, and you're never guaranteed a profit! I packed everything into my VW golf and hit the road hoping for modest success. The next year I expanded my stomping grounds to places where I didn't know anyone, but could pay for camping. So I put another tent in my golf and hit the road again.
5 years in I was making a small profit even with hotel bills and allowing myself to eat out sometimes while on the road. My husband and I decided to invest in a Sprinter van that we could convert ourselves into the perfect Art Show vehicle. By now I knew what I needed in terms of storage, and conveniences (like a shower! Potters can get away with dirt-baggin' it, but jewelers... not so much).
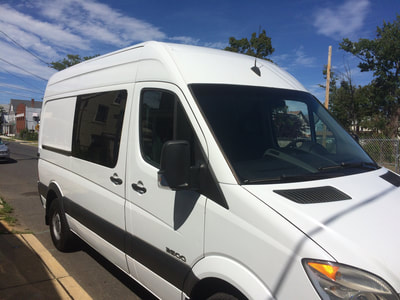
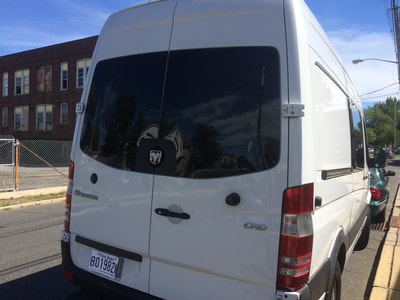
I found a used 2007 Dodge Sprinter van (high roof, 144WB) with 100K miles on it in New Jersey, had it checked out by a mechanic, and took the leap! Here's what followed:
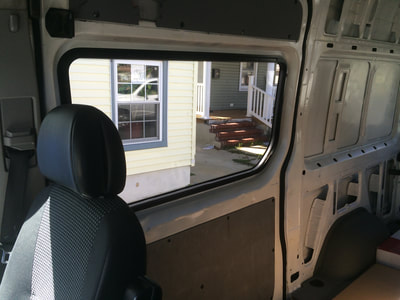
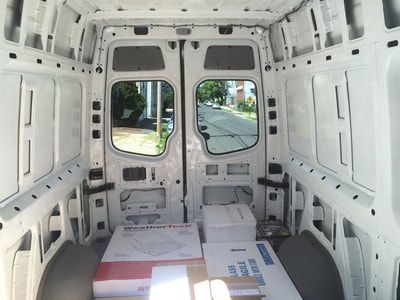
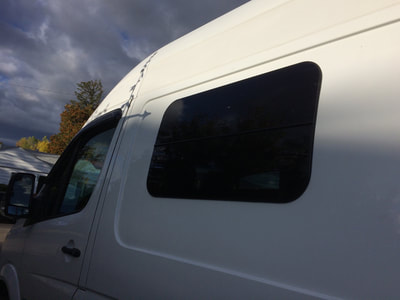
The van had no windows! None! So I had the professionals at Sprinterworld in South River NJ install two rear door windows and a sliding door window. I loaded up a few more goodies for my husband and I to install back home, and started the journey across country.
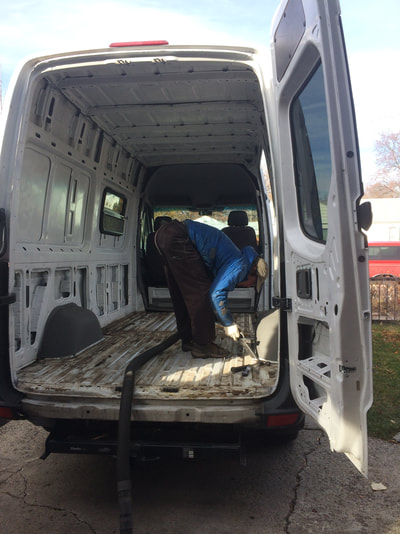
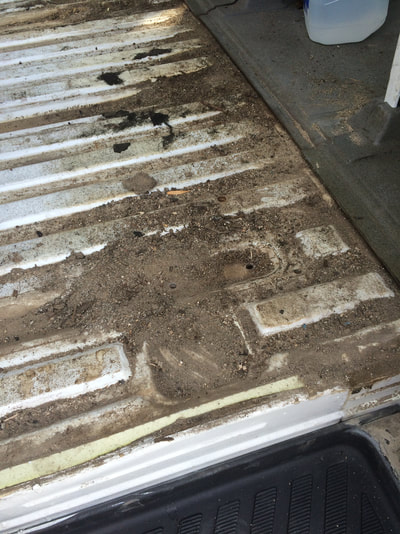
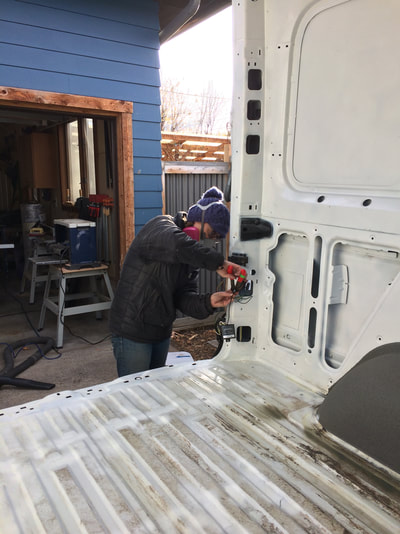
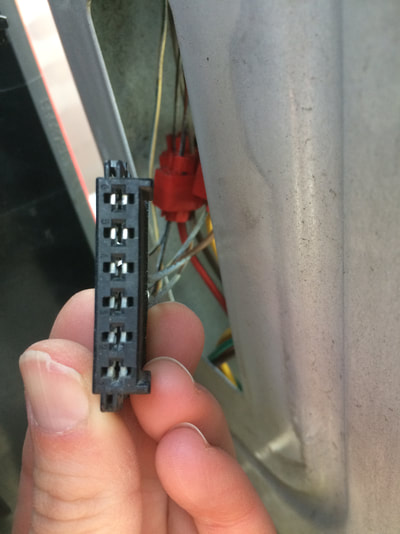
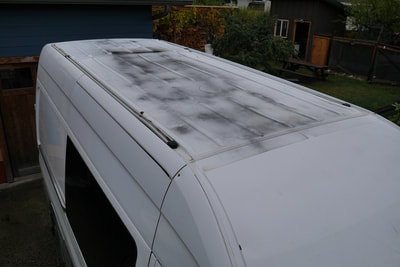
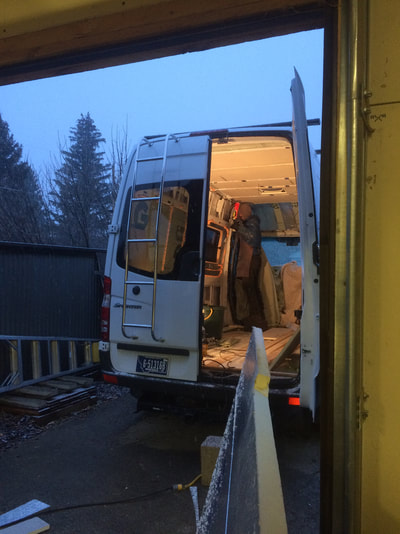
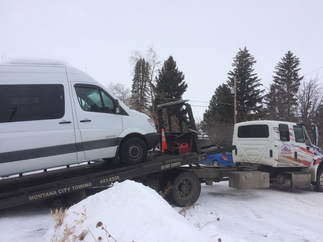
We had a company in Billings repaint the roof for us, and I had some minor electrical issues to contend with resulting from the U-Haul guy not quite installing the trailer hitch wiring properly. In hind sight I would have just installed it myself. While striping the van down and preparing it for construction we spent nearly 2 months designing the layout. This is absolutely key to the success of any conversion! Not that things don't change a little in the process, but researching what others have done, and thinking about how you want your space to function is priceless. We had never done this kind of thing before. And while between the two of us we do have experience with construction, carpentry, (Andy) electrical, plumbing, heating, and some auto mechanical (me) it was still a huge learning curve! Everything is different when it's in a moving vehicle! Nothing is square, and it's rarely level...
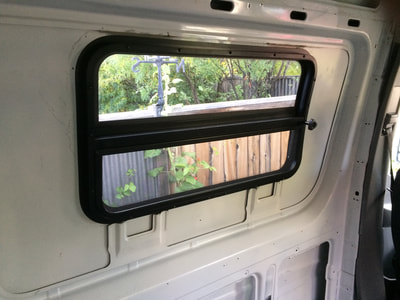
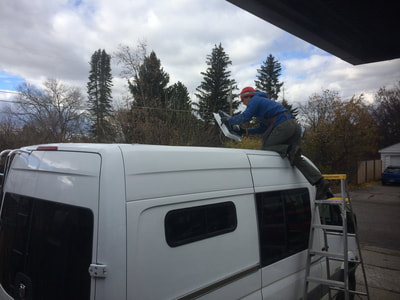
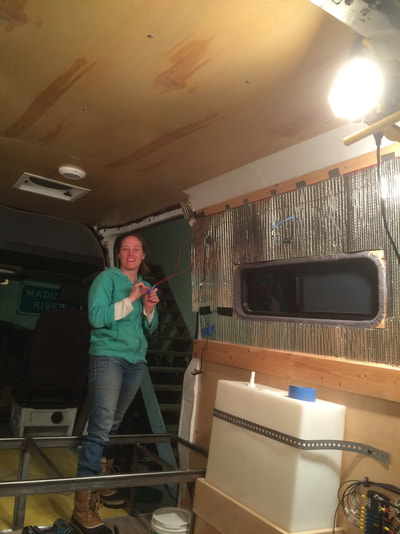
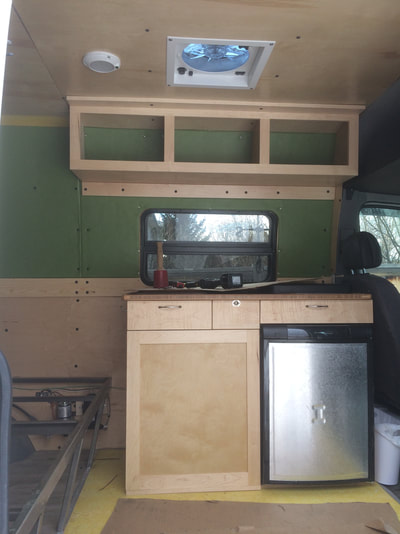
Andy installed 2 more windows and a roof vent. For the galley window, just behind the drivers seat, we chose a venting window that cranks out from the bottom so that you can have it cracked even when it's raining or snowing for a little fresh air. The long skinny window we chose for the opposite side and mounted it high up so that we could have fresh air while sleeping in hot climates. This window vents by sliding the glass sideways like any truck topper window. This way we have cross flow in the van when we need it.
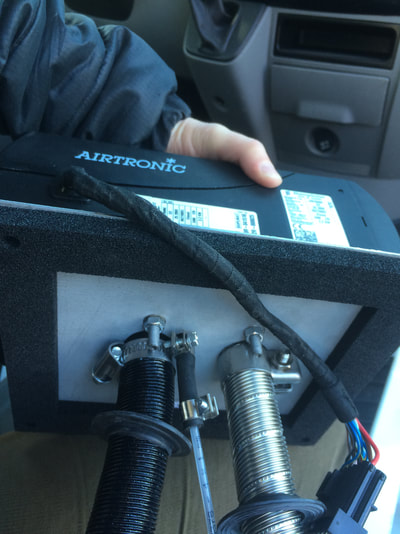
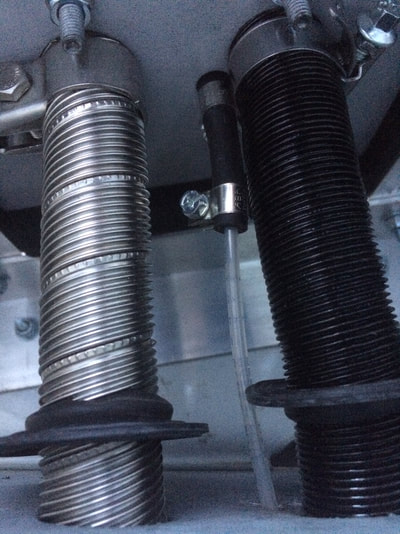
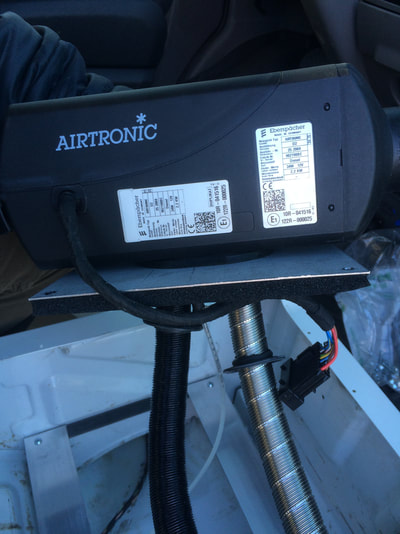
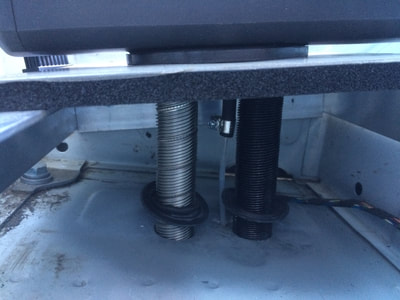
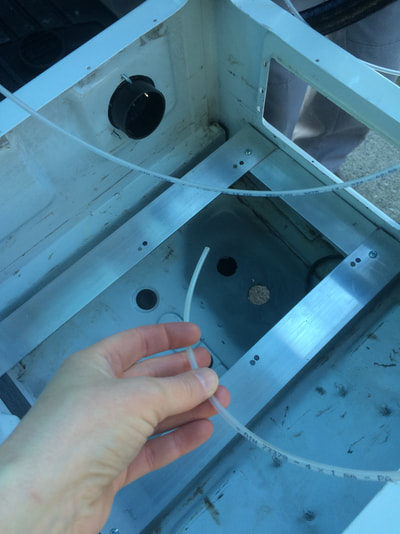
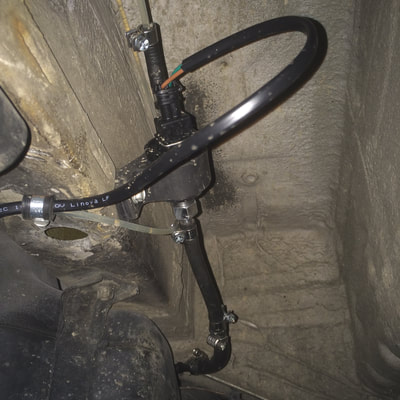
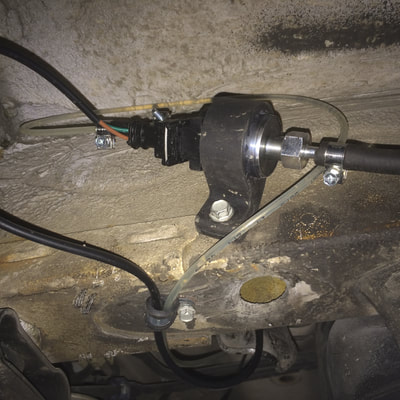
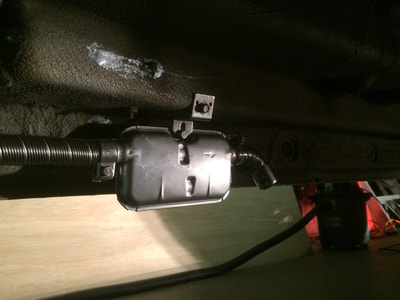
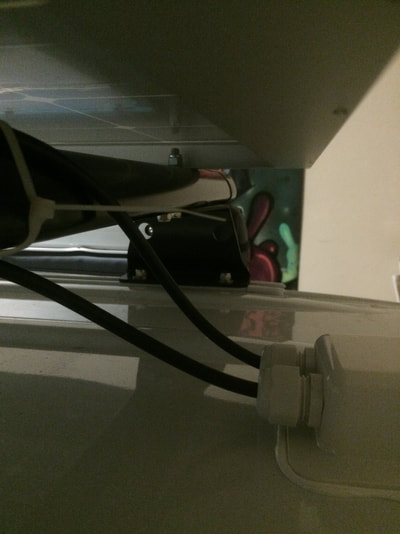
I installed a diesel powered Espar airtronic cabin heater under the passenger seat. I situated it so that it would draw cool air from the front passenger cabin and force hot air into the back camper portion of the van. This heater has a separate combustion intake and exhaust which needs to be plumbed outside the vehicle to insure that you don't get carbon monoxide from the diesel combustion in the van. We have a CO detecter in the van for safety and it's never gone off. I chose to wire this heater to the engine battery rather than the house battery. It has it's own fuel pump which needs to be mounted at a specific angle to ensure proper function. Luckily our 2007 had an auxiliary fuel tap on the diesel tank, so we could just patch in. This auxiliary fuel tap is standard on 2008 and later models, but it's hit or miss on older models. We fired it up and it worked great! But it sounded like a jet engine taking off in our driveway! So we ordered the Espar muffler to go with it and it's really quiet now.
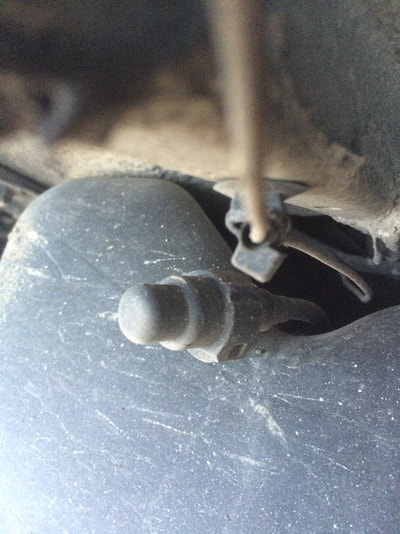
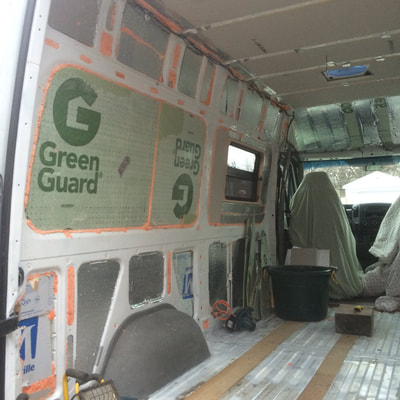
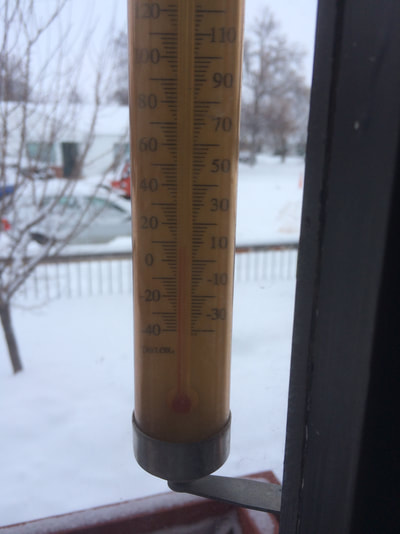
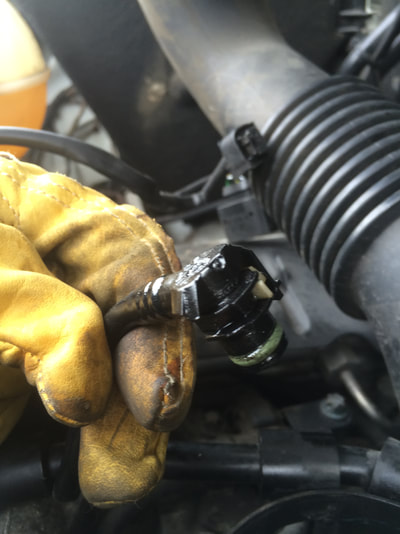
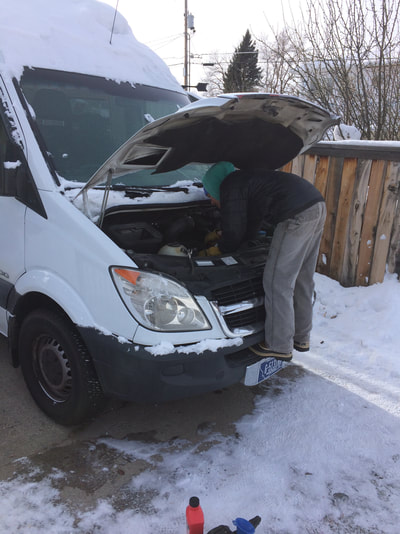
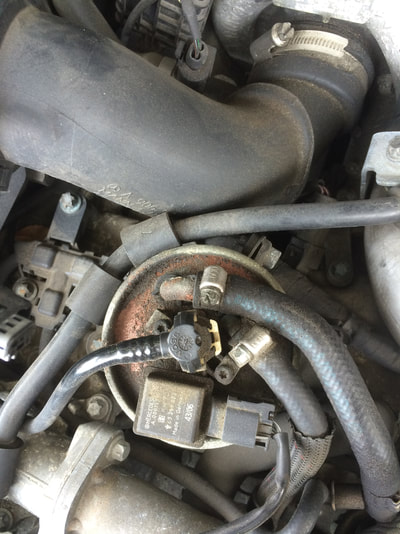
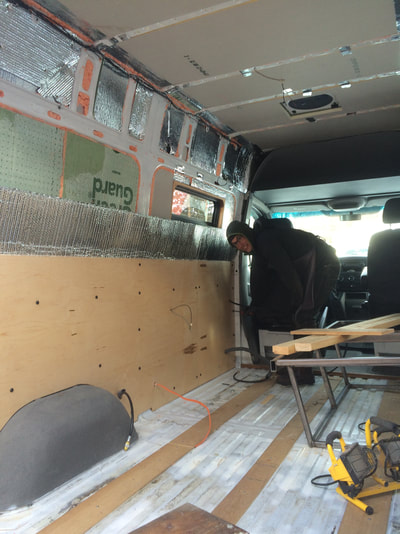
There is an order of operations to every construction project. For the van we needed to run electrical wiring before insulating. Which is why you design and plan before you begin construction. We ran all the electrical wiring for every light, fan, appliance, and sensor (in split loom conduit) before insulating with rigid foam and "Great Stuff" spray in foam. This was a huge amount of work and took a ton of time. A major factor in our decision to use rigid foam was the fact that a friend gave us a bunch left over from a home construction project, and when you're on a budget you don't pass up free materials! Unfortunately winter hit! The temp dropped. Andy did the bulk of the insulating during the years first snowstorm. And the cold brought another set of problems... mechanical ones! The van wouldn't start. I bought a new battery, and replaced the fuel filter (which looked about a million years old) It was so cold out that while I was removing one of the lines to the fuel filter this tiny plastic white clamp that is supposed to expand just snapped. It was an $80 mercedes part! Lesson learned: don't replace the fuel filter when its 6 degrees outside!
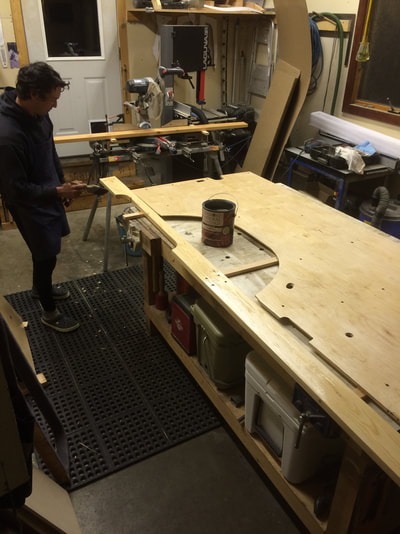
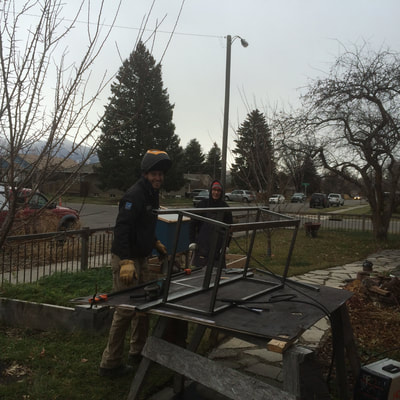
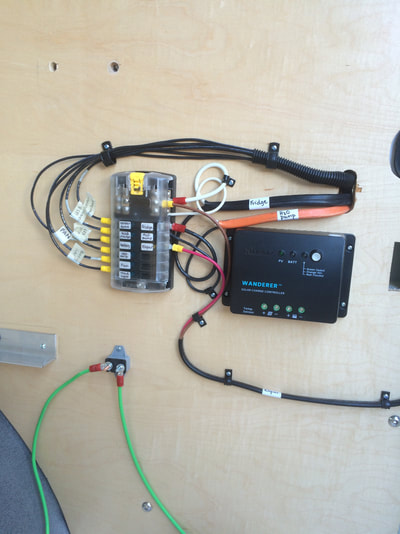
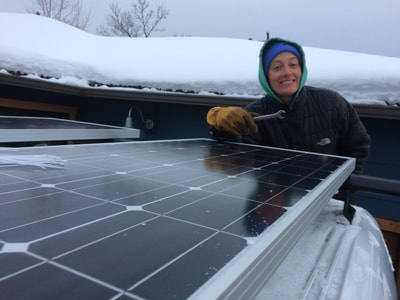
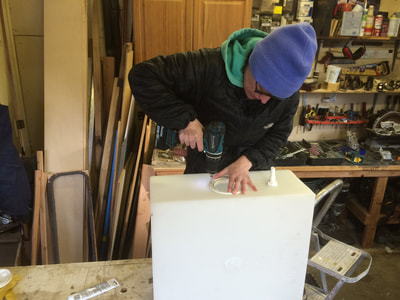
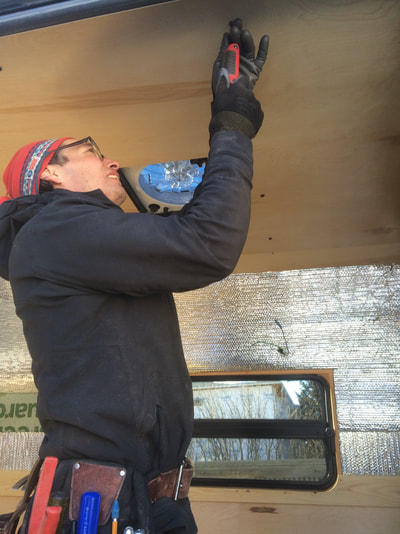
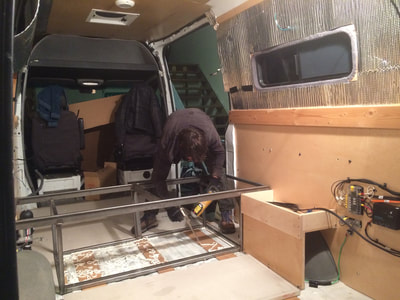
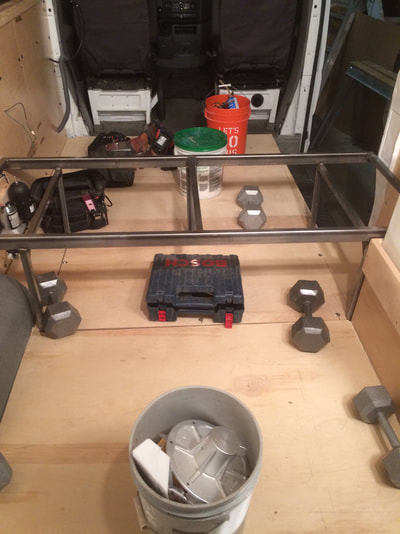
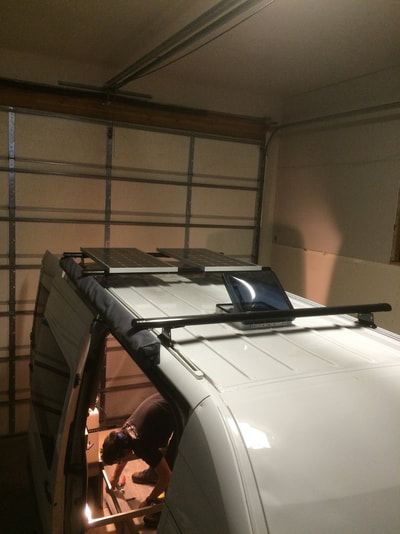
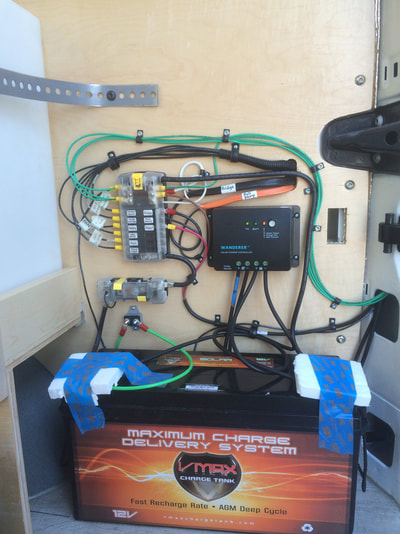
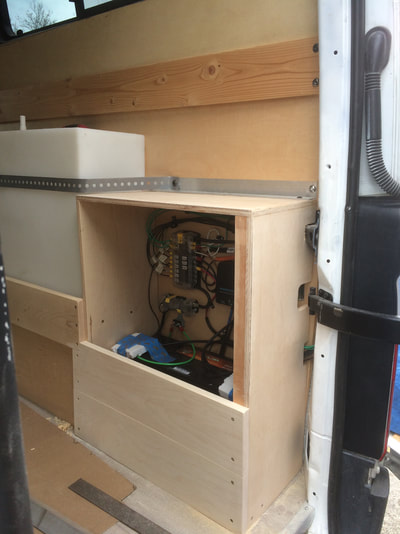
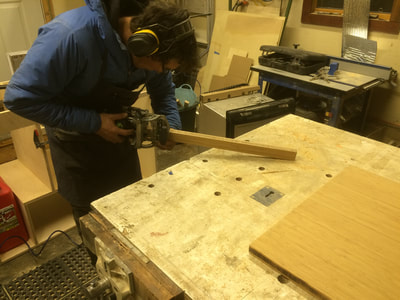
When we got her back Andy worked on the paneling which was quite a challenge! He used large pieces of cardboard to make templates. There isn't a straight or square dimension in this rig! He used rivnuts to attach the paneling to the metal frame of the van. The centerpiece of the cabin construction was the bench. A friend brought over his welder and they fabricated the frame that we would bolt through the floor. I made some progress on the electrical. We have 200W of solar and a 205AH battery. No inverter because all our circuits are 12V DC. And I prepped the 16 gallon water tank with fittings.
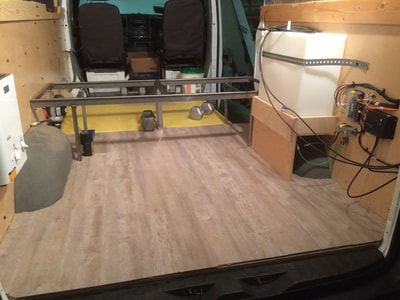
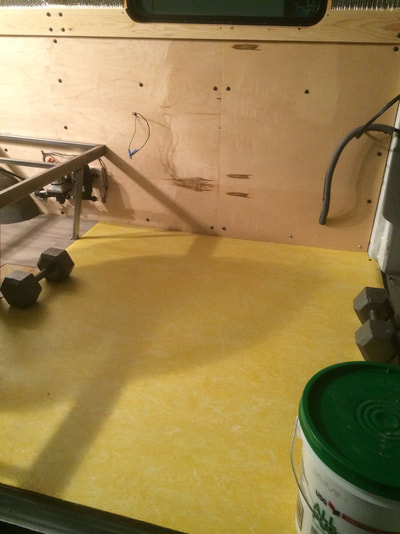
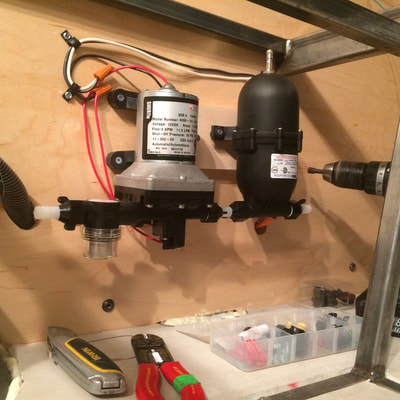
The next stage, installing the floor, was temperature sensitive. A friend was kind enough to let us use his heated garage that had a bay door tall enough to fit the van in. We bolted the bench through the van floor. Then attached the subfloor insulation, plywood sheeting, and the marmoleum flooring using fasteners and adhesives, hence the temp sensitive situation. Once the floor was in we were able to start installing some of the other mechanical components like the water pump, water tank, hot water heater, and the house battery. Which of course allowed me to test some of the electrical circuits. We also mounted our awning to the racking at this time, and made the roof penetration for the PV wiring.
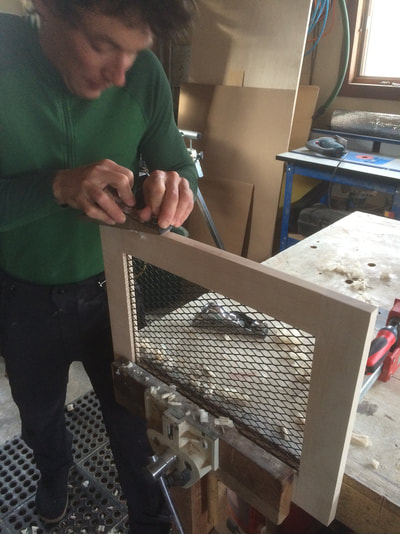
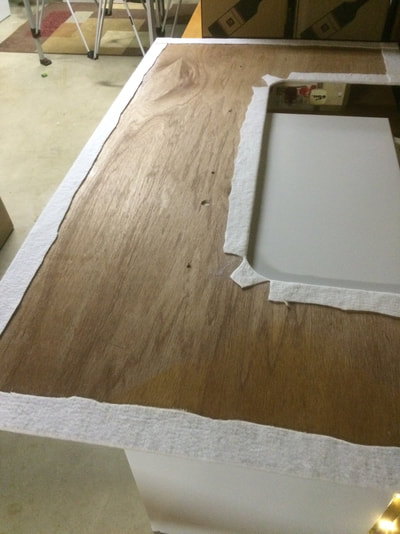
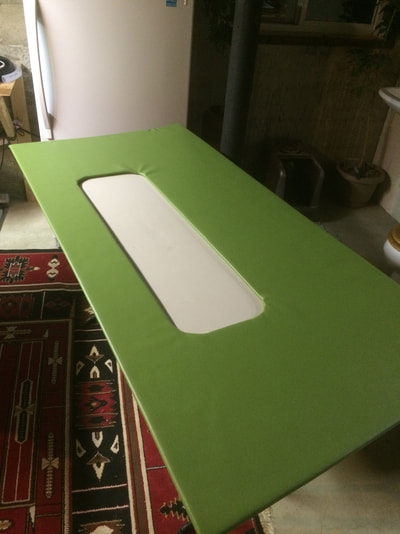
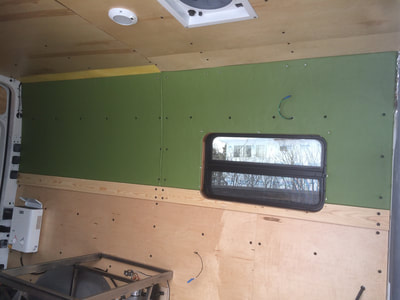
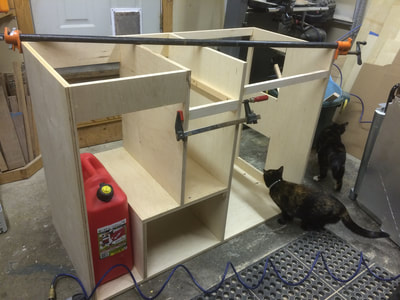
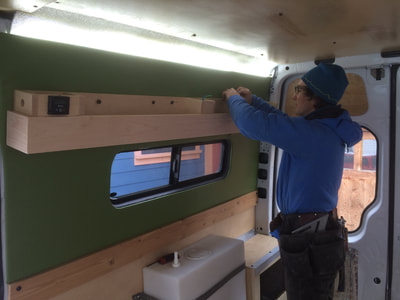
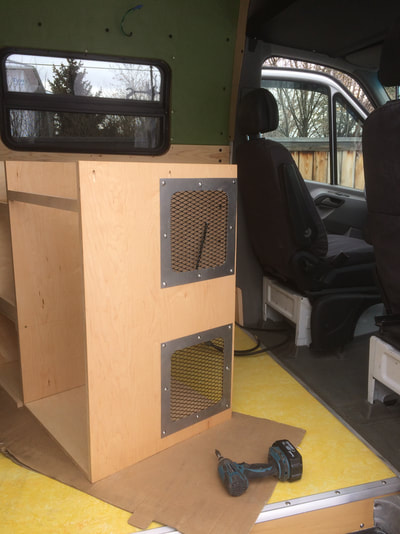
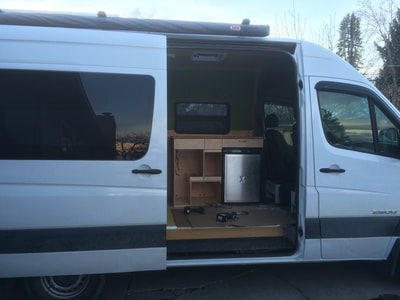
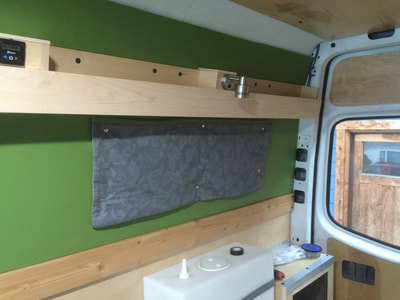
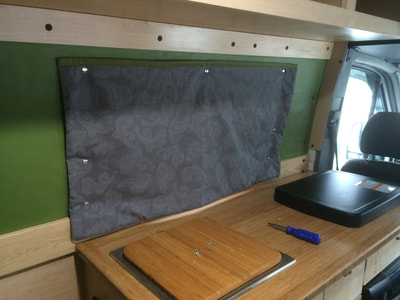
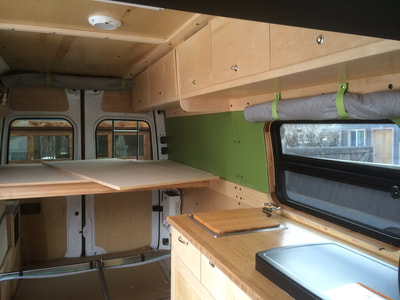
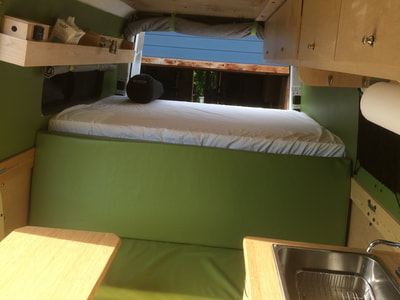
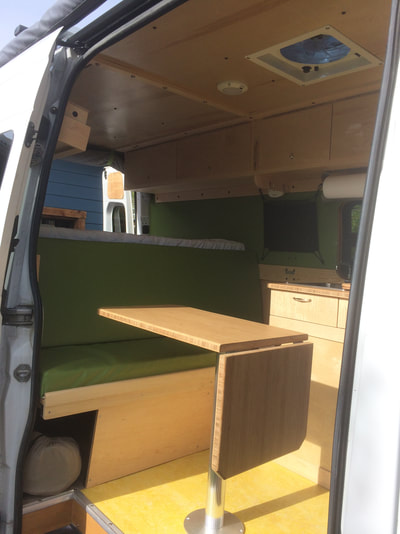
This is where the conversion really started to feel like we were making progress. With the lower paneling, bench, and flooring in Andy could start building out the electrical cabinet, the shelf above our bed, the galley and cupboards. I worried that with the ceiling and lower paneling all being wood, along with all the cabinetry and countertops, it would start to feel too monotoned. I wanted to break it up visually a bit. So I used green vinyl to cover the upper paneling. A cotton batting applied to the panels first gave it more of an upholstered look.
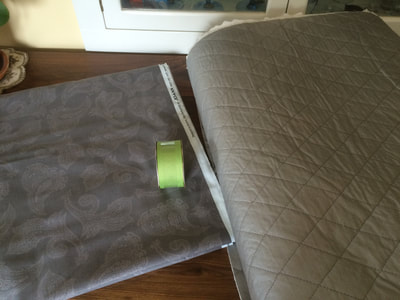
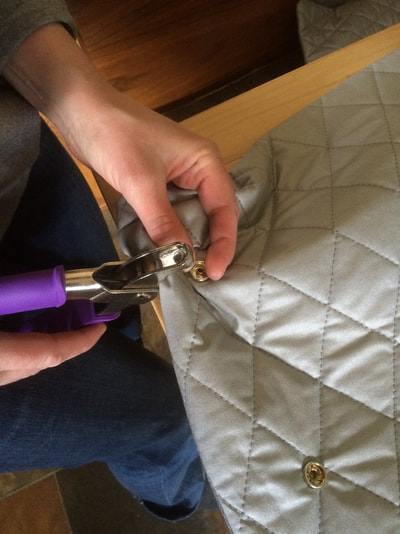
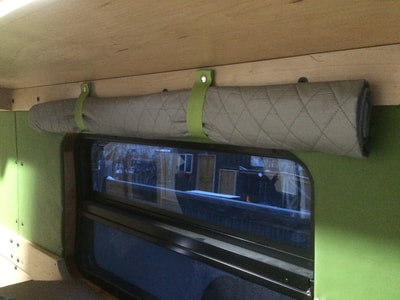
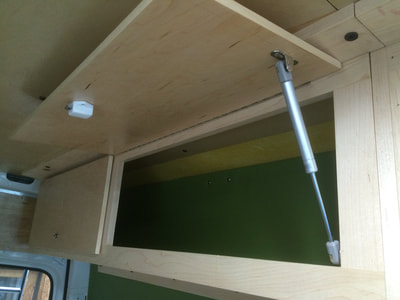
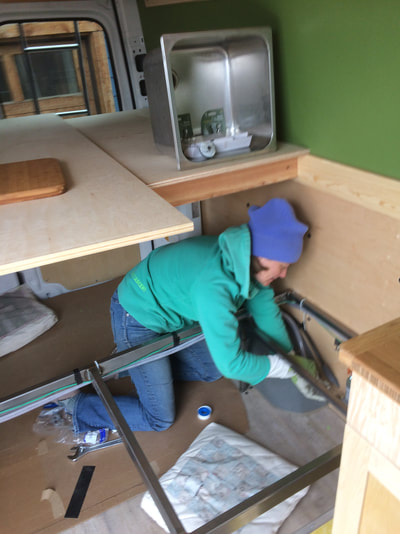
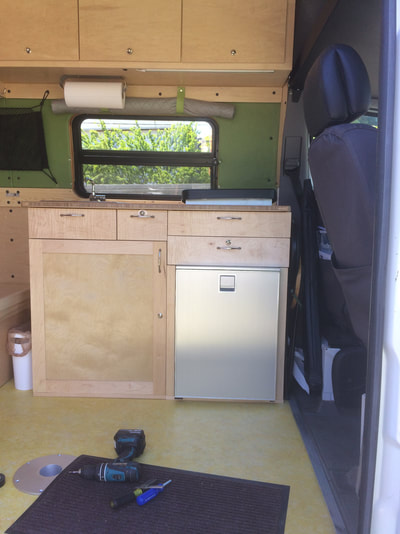
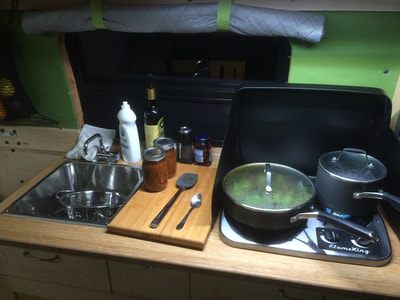
I started making curtains. These are black-out curtains made with a quilted batting for insulation and complete privacy. They attach all the way around each window using snap fasteners for a good seal, and they roll up secured with snap ties when not in use. Andy installed the sink, stove, and started building out the bed and bench. While I hooked up the plumbing. Our stove and hot water heater run on propane. We mounted an ASME tank horizontally under the van on the drivers side. It's almost directly below the galley. I did all the hook-ups but the RV place that purged and filled our tank pressure tested all the fittings just in case. Better safe than sorry. Andy fitted push-button latches and pressurized struts to all the cabinet doors. A van is almost like a boat. When you start moving you have to "batten down the hatches" so to speak otherwise things fly all over the place.
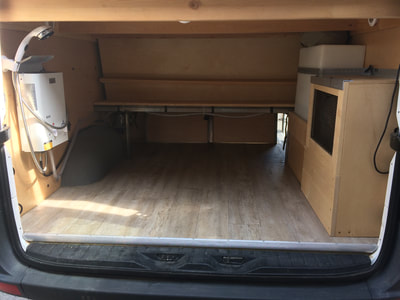
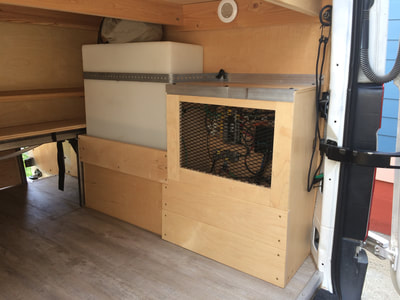
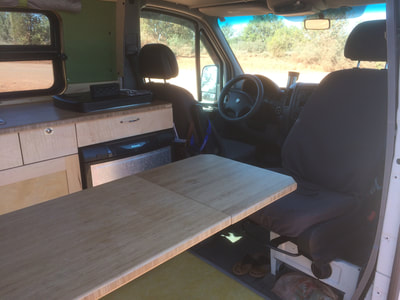
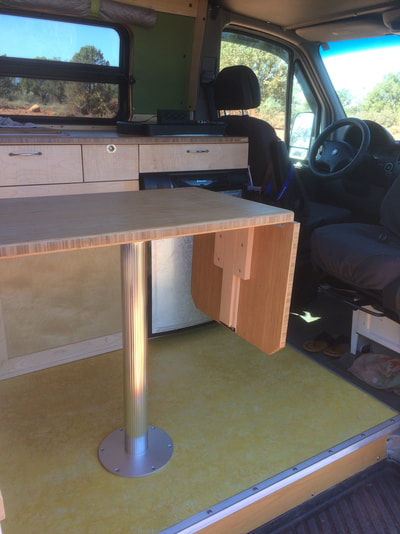
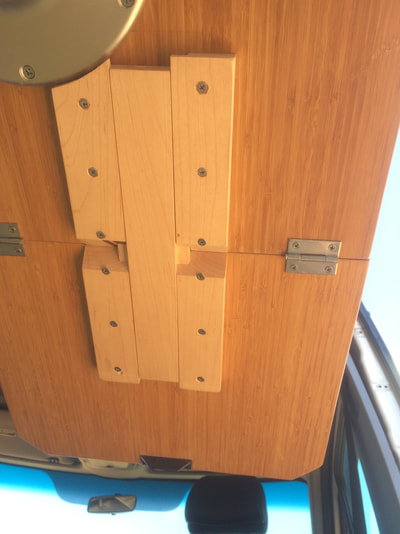
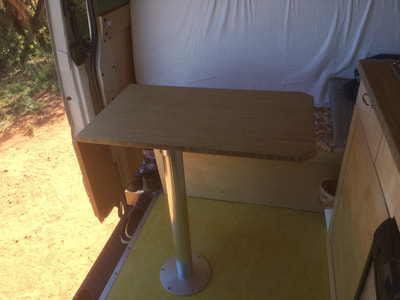
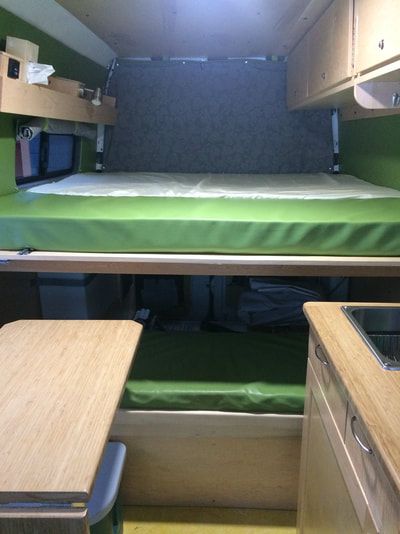
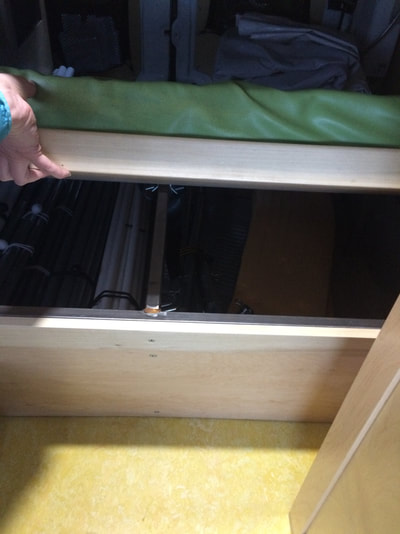
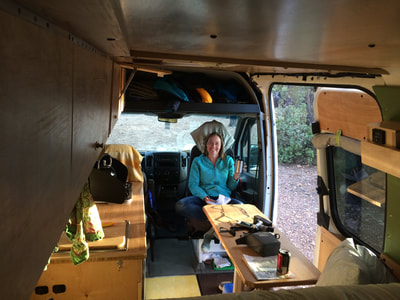
One of the key requirements of an Art Show vehicle is storage space for show equipment (canopy, shelving, displays etc) and inventory. In my case I'm very fortunate because jewelry is small. So I can fit everything I need with room to spare in this one vehicle. The space in the back of the van under our bed is large enough to fit every bit of show equipment. I've even taken multiple canopies at once in this rig. A couple of battery powered LED touch-lights help illuminate the cargo area. Our water heater is mounted on the drivers side in this cargo area and it is designed to be used only for showering with the back van doors open. Since most art shows occur during summer this is no problem to shower outside. I just wear my bathing suit and put up a curtain between the doors for some privacy. It works awesome! The final touch for our galley area is this ingenious table Andy built that can be arranged in a variety of ways, or removed entirely if needed. Some upholstry on the bench cushions and we're ready to go! An important note about refrigerators: If you are planning to operate on only DC power without a generator buy an Isotherm marine-grade refrigerator (the smaller silver one in the photos) rather than another brand labeled "3-Way" (slightly larger black and silver). 3-ways are not efficient. We learned this the hard way. I was too lazy to do the energy consumption calculations and just took the word of another van conversion I came across online. The 3-way drained our battery dangerously low in one 24-hour period so we had to get rid of it (the fridge, not the battery). I hate generators and refuse to use one. The Isotherm fridge on the other hand is exceptionally efficient! We are now drowning in electricity! And it freezes ice, or anything else you want, even when it's nearly 100 degrees outside!
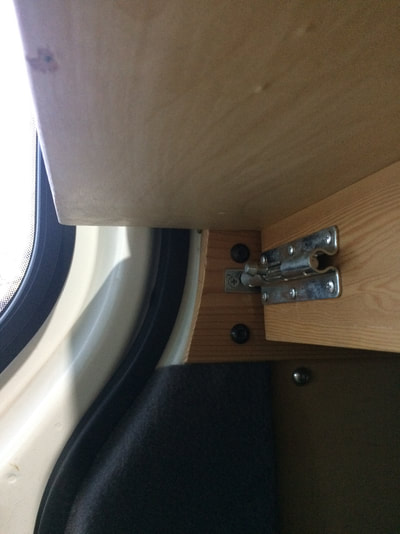
The biggest design challenge we faced was the bench. We wanted seating around a table for friends but we also needed a bed big enough to sleep two people. Not to mention my cargo space, which was not-negotiable! I didn't want a longer Sprinter van because driving in big cities is not something I'm super comfortable with and I really wasn't ready for an oversized vehicle. So we designed the bench in such a way that the back is hinged to the bed, and can lift up and lock into place along the wood side-rail in the van to extend the bed. I'm short, so when I'm on the road by myself I don't bother, I can sleep cross-ways in the van with room to spare. But when my husband comes along we can convert the bench to a king size bed in no time. The bonus is that the seat is then available for a third person if they are short enough to sleep cross-ways. We've done this before and it worked brilliantly! We also designed the seat of the bench to lift up for easy access to some of the rear storage area. You can lift the seat while the back is up or down, no problem.
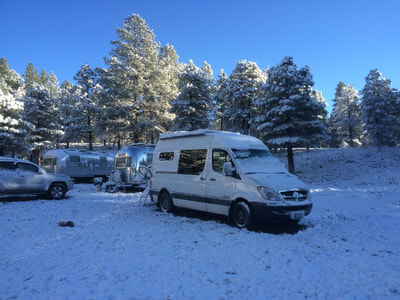
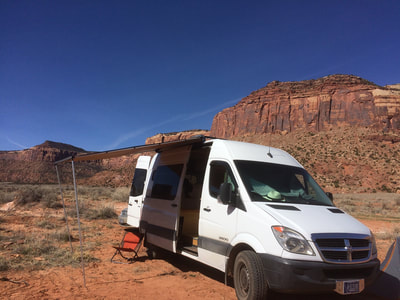
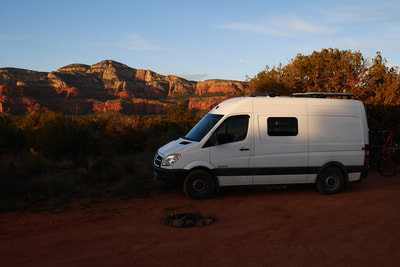
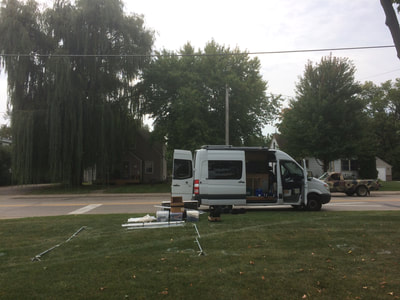
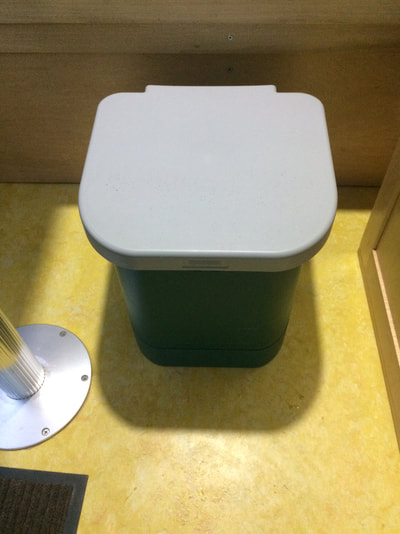
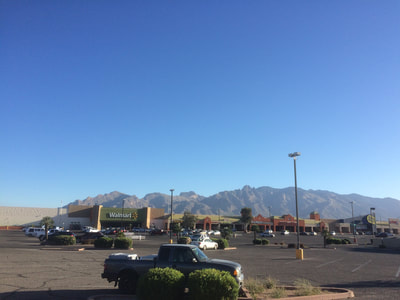
Here's some pics from the road! One thing I will say, as a girl, who travels alone, in cities, and sleeps in her van... I love my portable-poddy! Maybe this is too personal, but it's part of life on the road. The one I have just uses cat litter that you can easily dispose of in any garbage can. In national forest, of course I go dig a hole, but clandestine urban camping requires different equipment. And yes, I've had to resort to the Walmart parking lot sometimes... that's when you really need black-out curtains.

